
Builder Submitted Talkbox Projects
John Spina’s Talkbox
John sent me these photos of his home-built talk box. He used a midrange driver from MCM Electronics Item# 54-255. He purchased the 15uF NP cap and the tube attachment piece (it screws on to the driver) from Dunlop, the makers of the Heil Talk Box.
Tony Guy’s Talkbox
Tony Guy sent me some information about his home-built talk box. The driver is a Dayton from Parts Express part number 260-098. This is a very low profile driver, great for a compact size unit. The enclosure is a Radio Shack part number 270-216.
Miguel Cejas’ “Talk’n Play” Guitar Talkbox Project
Hello friends. This is my talking guitar project. First of all, sorry for my terrible English. My native language is Spanish, and i am making a great effort in writing some paragraphs in English. Please make the corrections you estimate at your own criteria. Anyway, i hope the photos to be found self-explanatory enough.
The project follows the general philosophy of building any talkbox, the working principle is the same as in a standard one, but there are some differences from the schemes I’ve found till now: The substantial differences are:
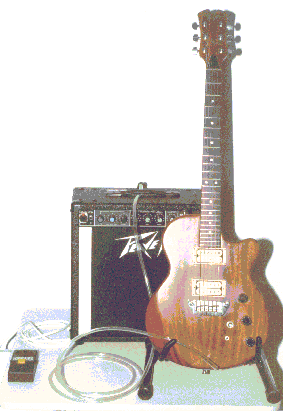
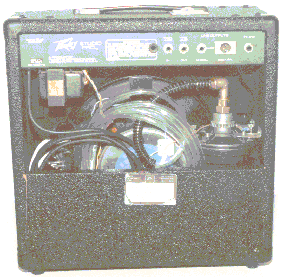 The driver is not mounted in a separate box, in a footswitch or a stompbox, but in the amplifier itself. This represents an advantage in terms of equipment portability and manageability. You can carry and plug in your small amp with the effect built in. The talkbox, as a separate unit, is not a very portable effect in size and weight terms. It is a big and heavy effect unit compared to other types (e.g. a distortion or a flanger pedal). It is some painful connecting and setting it up when you are on stage (speaker cables, etc.). This is because its electro – acoustical nature (not a low-signal, but a high-power signal processor). With this project, you can move your small amp-talkbox combo system with only one hand, all built in as a single unit. This simplicity is true also in the on-stage setup. You plug in your amp to a wall outlet and your guitar to your amp. And your guitar sounds normally. If you want to use the talkbox effect, unroll the mouth tube, eat it, and the small on-off switchbox from the amplifier back. Mike your tube through the PA, and that’s all. If you don’t want to use it, leave it all rolled down into your amp case. Nobody will notice your amp is the carrier, nor you do have such an effect in your arsenal. 🙂
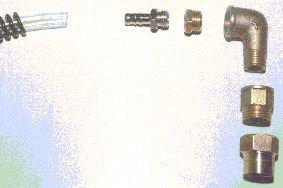
Another difference is in the construction process. Extreme care has been taken in the mechanical (piping and tubing) manufacturing process. Exhaustive search and selection of materials and maximum rigidity and reliability is a premium factor for me. It is a “MUST” in order to achieve road-resistant equipment. But in practice it may be a hard work. It depends much on your luck you can find the parts, and your local pipe and tube dealers do have the last word about this. Another point to consider is the availability on physical dimensions and electrical characteristic parameters of the driver. Some machining will be necessary at some moment in the process. Get the driver first and test it for a good response. Then get the piping/tubing elements (if you can). And last connect them, fix them, and set it up all together (in the way you can). In this project, many ideas are subject to improvisation, and all depends on the physical layout of all the pieces. It is up to you consider the best placing scheme of the parts in your project.
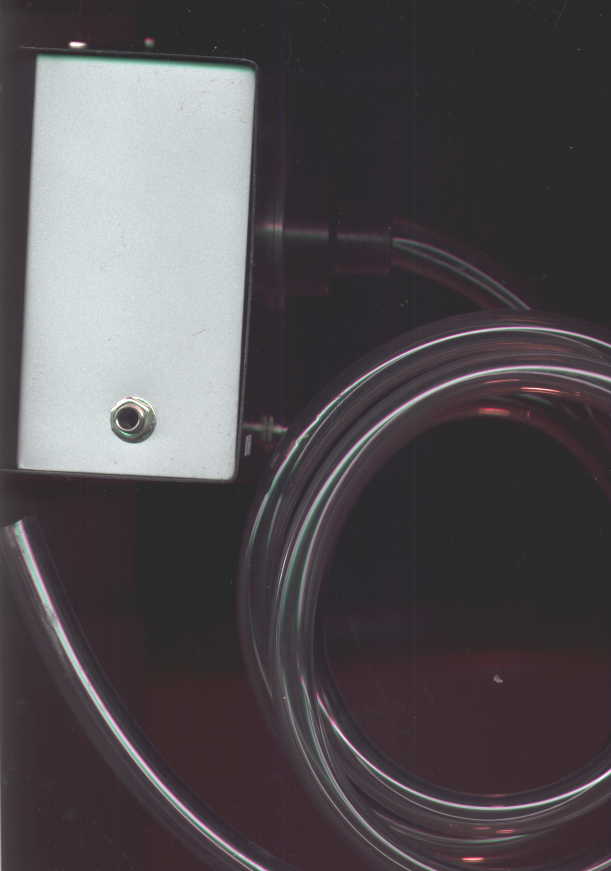
An important improvement has been added to the project. I recommend using it whether the scheme you use, amp-built-in talkbox or driver-in-pedal talkbox. The most failure-prone point in your talkbox system (as you know if you are an experienced user) is the junction of your rigid tubing to the flexible tubing system. It tends to bend in the wrong way, obstructing the pass of the sound of your guitar to your mouth…. The point you insert your vinyl tube to the sound source, the driver. Make this junction semi-rigid in some way. My solution is the plastic or metallic spring surrounding the vinyl flexible tube. If you roll a spring about 20 cm around your tube, you will get 99 percent of your amplifier-driver output sound power in your mouth at 99 percent of the times…. Another way is using two types of tube with different rigidities, but it adds some extra pieces to your carried goods.You can use the same scheme in any problematic point in the tube, for example in the zone where you attach it to the microphone. Ask an automobile brake specialist, a sailing stuff supplier or a diving accessories dealer to get these stuff. Air or gas (pneumatic), hydraulic (water or oil), and high pressure tubing and piping suppliers are the best for this…. believe it or not…
Construction Hints and Tips:
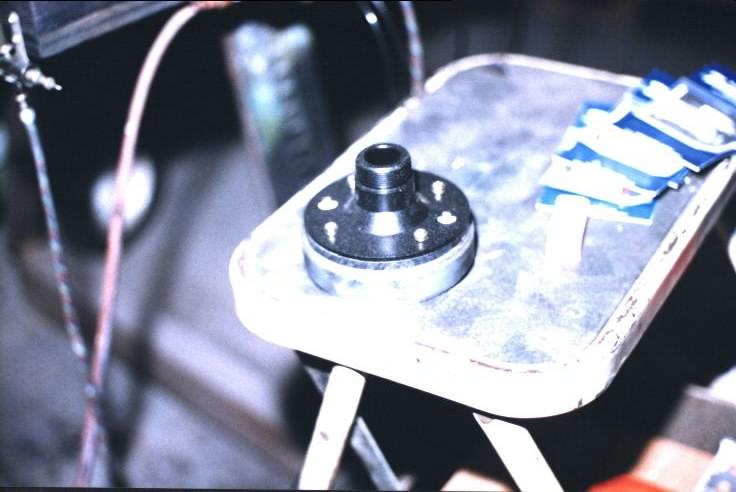
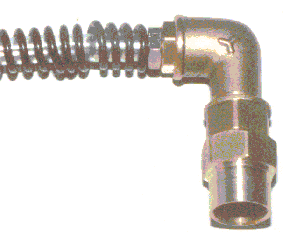
First of all, get the driver. Test its characteristics and response, and if it fits your needs, look for the coupling (rigid piping). The most difficult step is connecting the first piece of brass to the driver. I had to machine work this piece to make it fit into the driver soundhole. I did it at home using an electric hand drill, attaching this piece to the chuck and using a file and/or a grinding stone to diminish progressively its outer diameter, and making it conic to insert it in the driver soundhole with a wooden or plastic hammer. Reduce it a bit at a time, test the fit and continue machining. Brass is a good material to work with in this way. If you want, apply some engine gasket cement (loctite, hermetite, krafft or nural) to have an hermetic joint. Then attach the rest of the diameter reduction brass parts and torque them. Use a 90 degree angle adapter if you need it (as in my case). Otherwise, use straight pieces until you reach the vinyl tube diameter.
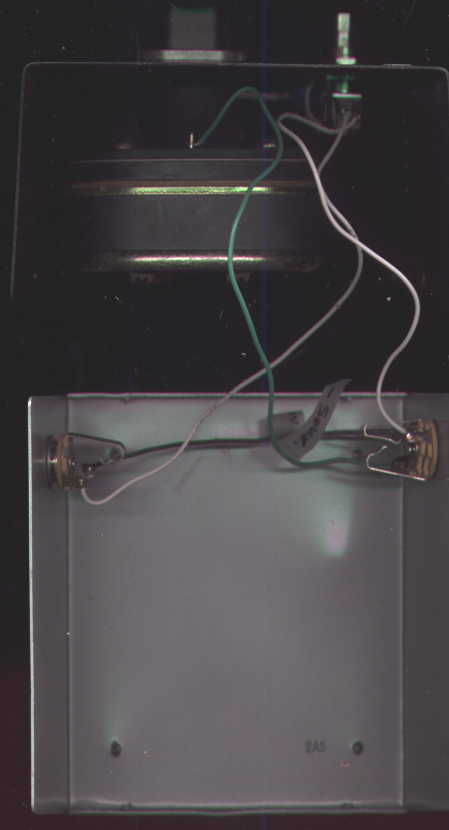
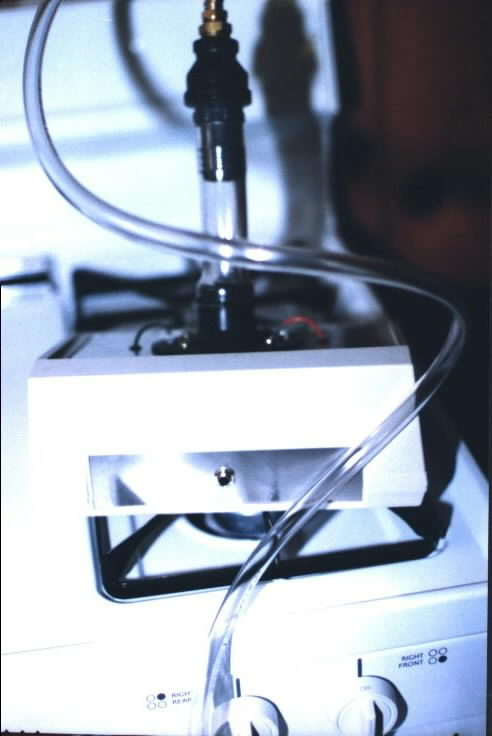
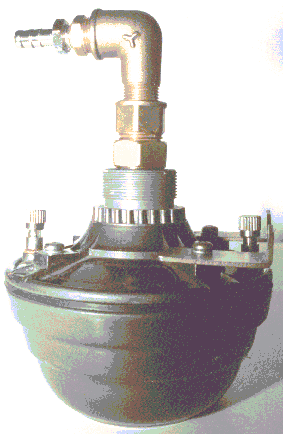 Use two angled metal pieces to fix the driver to inner of the amp housing (or wherever you can) with screws or any other strong and reliable method.
If you observe my setup, you will notice it has been designed and constructed with a reversible philosophy: I can dismantle it all and leave the amp in its original condition anytime i want. Undo the two fixing screws of driver, remove it and reconnect the cables to speaker and that is all. A 5 minute work, and only a screwdriver will be needed.
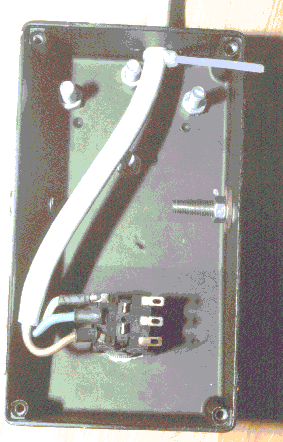
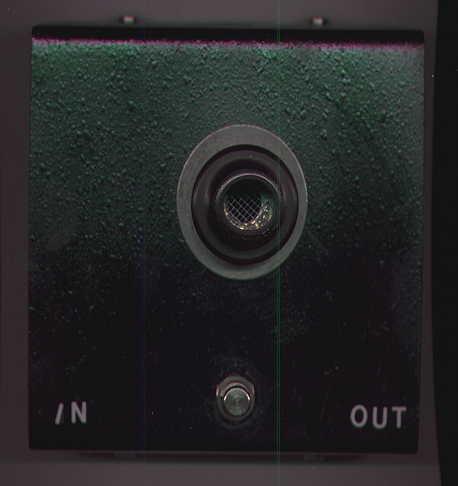
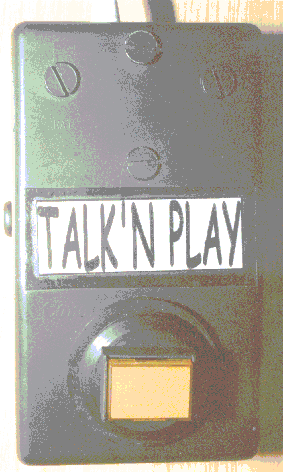 The electrical connections are the standard ones. I have used an old, dead effect box to set the switch into it and a 3×1,5sq.mm. mains cable. Enough tho handle 20W of power. Connect it as an spdt to select between your amp’s speaker or the talking driver. Use standard terminals so you can undo it easily.
Final considerations:
Here you have a new, different idea for building your talking guitar. Use your combo as a dedicated talkbox amp (with other amp and an A/B switch) , or as a switched mode (effect on/off) one. Look at the photos to get a visual guide on how to assemble all parts together.
WARNING!!!: Please read and observe all safety recommendations on building and using this type of equipment.
Well, expressive and eclectic guitarists. Use this project as you want, and at your own risk. Sorry again for my English, and build your talking guitar, play it and enjoy it. Feel free emailing me and ask any question you have. I have more photos for you on demand!.
Cheers.
Miguel Cejas
Tenerife. Canary Islands.